three.js 의 geometry 라이브러리
https://threejs.org/docs/index.html#api/en/geometries/BoxGeometry
three.js docs
threejs.org
| BoxGeometry | 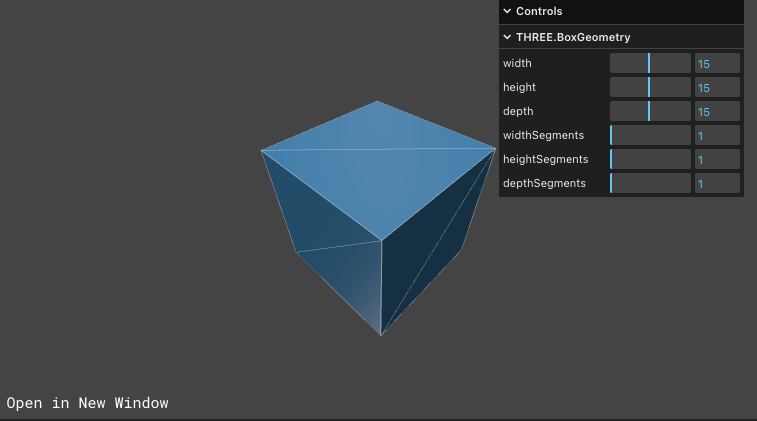 |
| CapsuleGeometry | 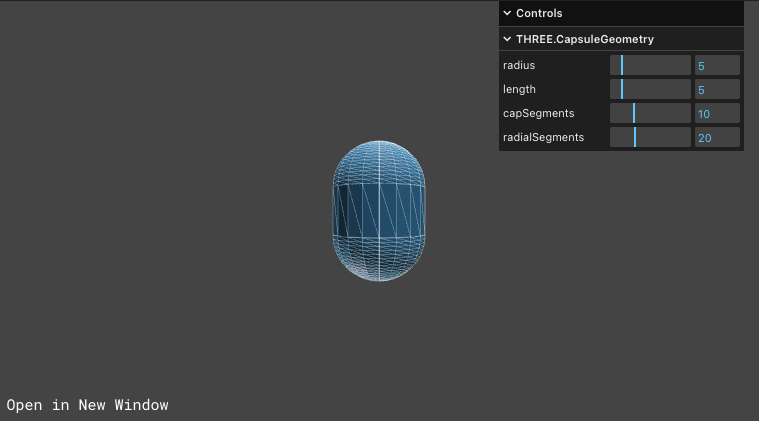 |
| CircleGeometry | 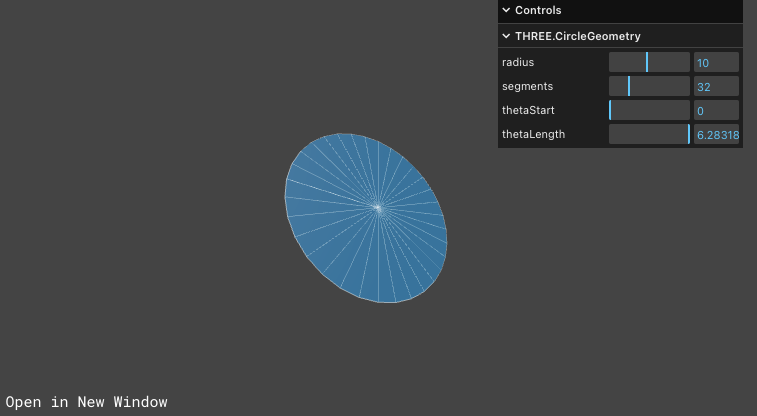 |
| ConeGeometry | 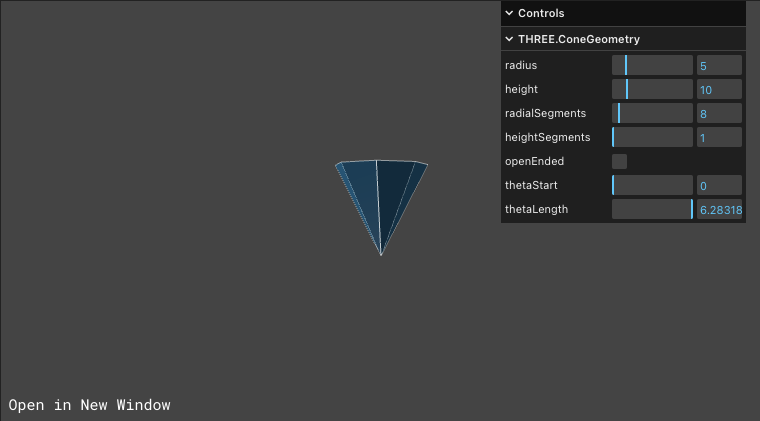 |
| CylinderGeometry | 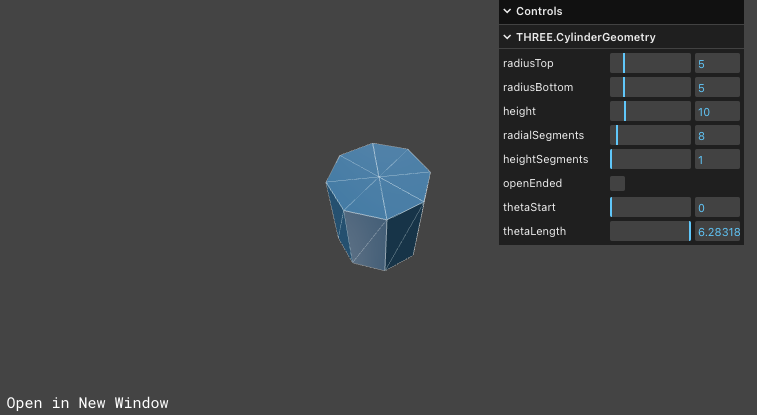 |
| DodecahedronGeometry | 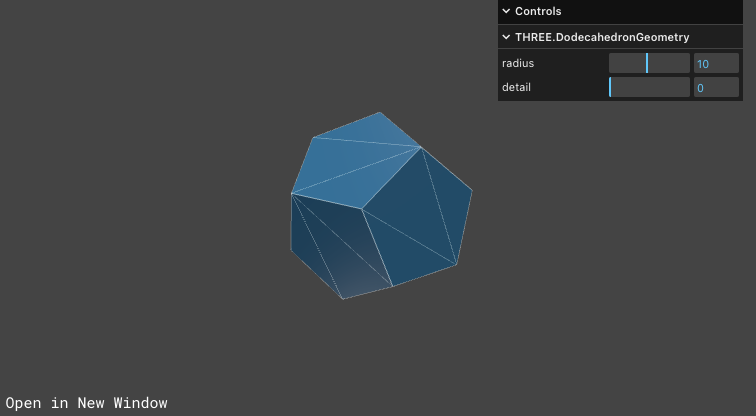 |
| EdgesGeometry | 베이스 지오메트리의 외곽 라인만 생성 |
| ExtrudeGeometry | 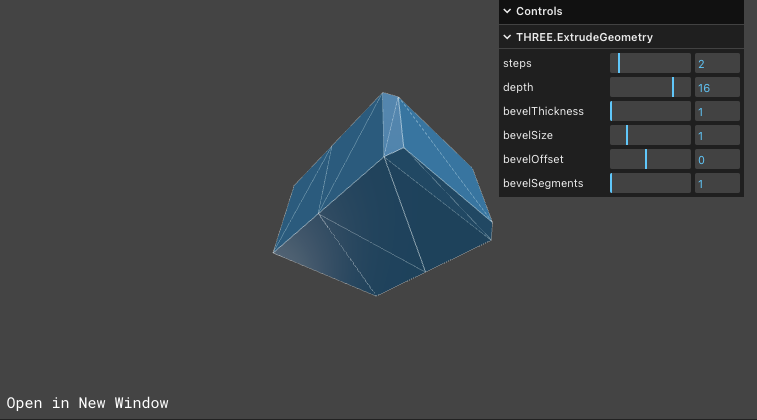 |
| IcosahedronGeometry | 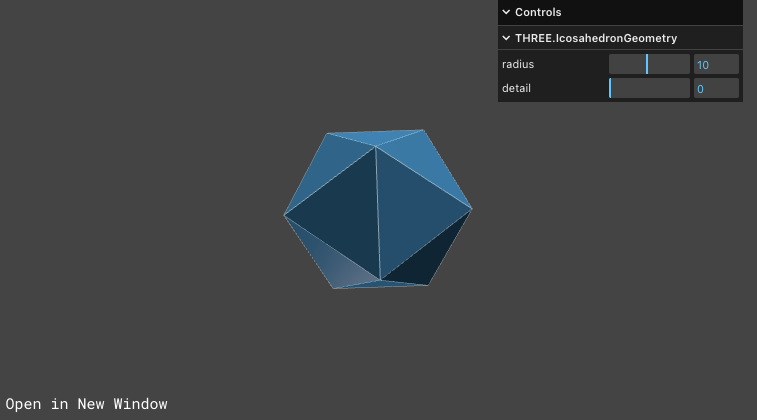 |
| LatheGeometry | 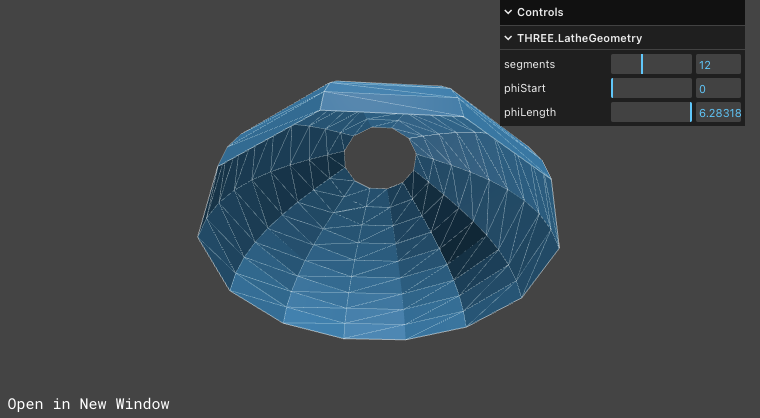 |
| OctahedronGeometry |  |
| PlaneGeometry | 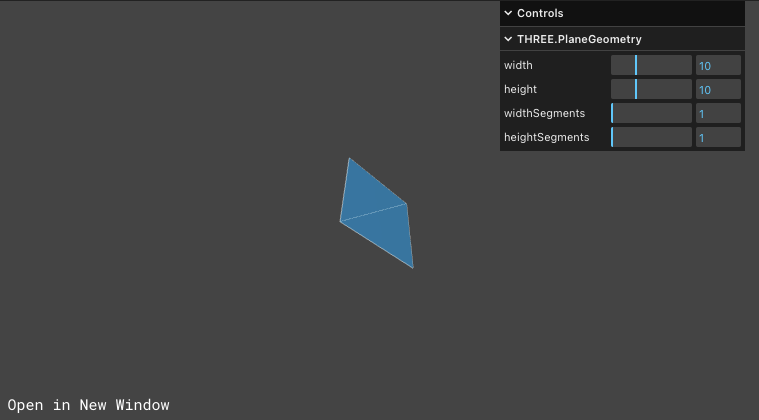 |
| PolyhedronGeometry | 다면체 지오메트리를 생성하는데 쓰임 |
| RingGeometry | 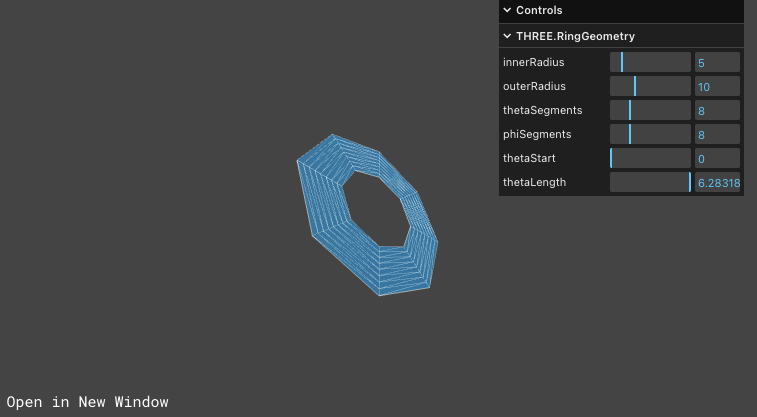 |
| ShapeGeometry |  |
| SphereGeometry | 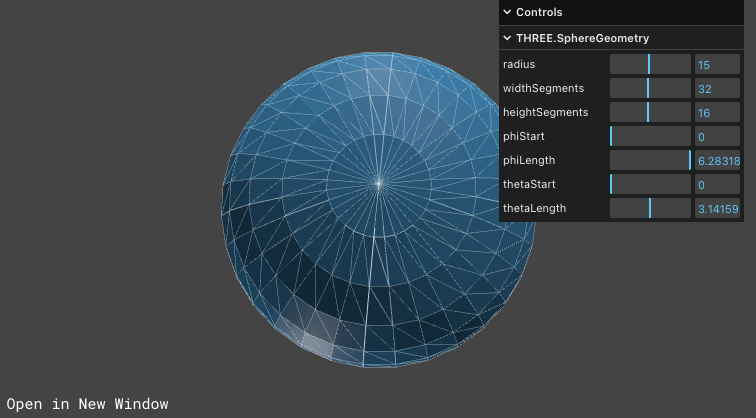 |
| TetrahedronGeometry | 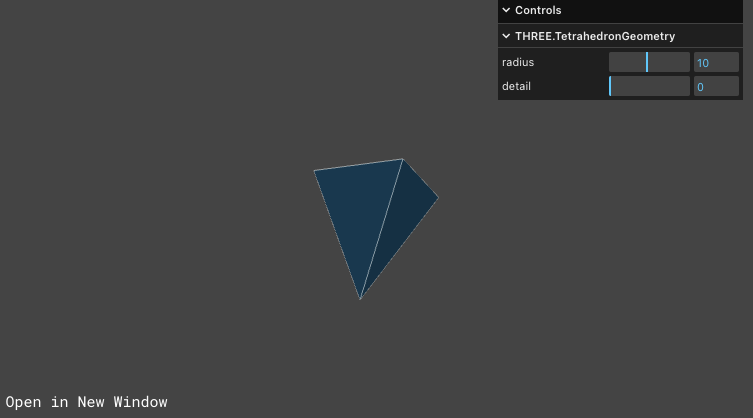 |
| TorusGeometry | 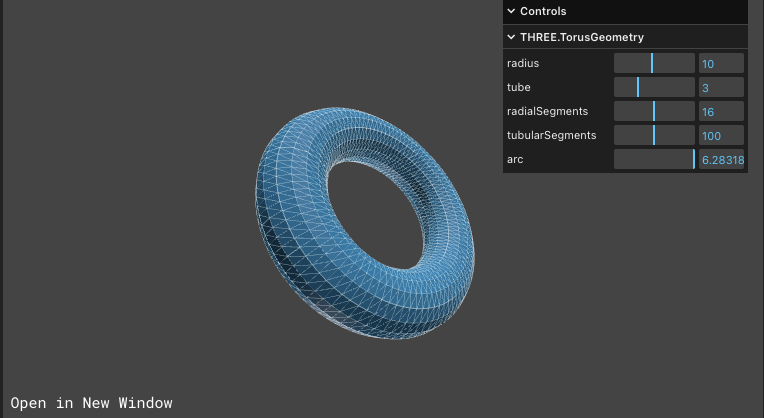 |
| TorusKnotGeometry | 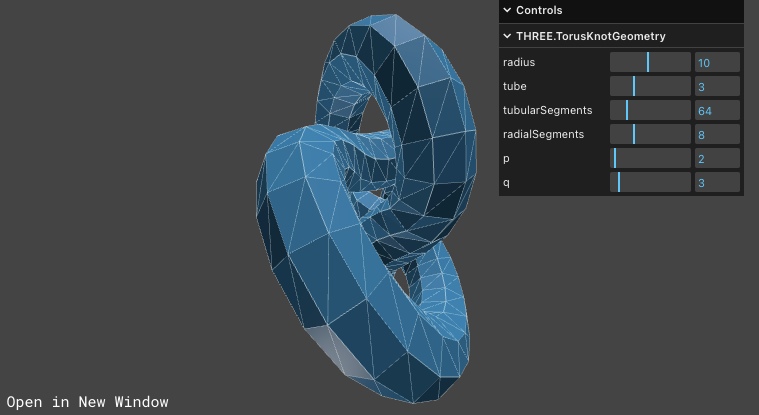 |
| TubeGeometry | 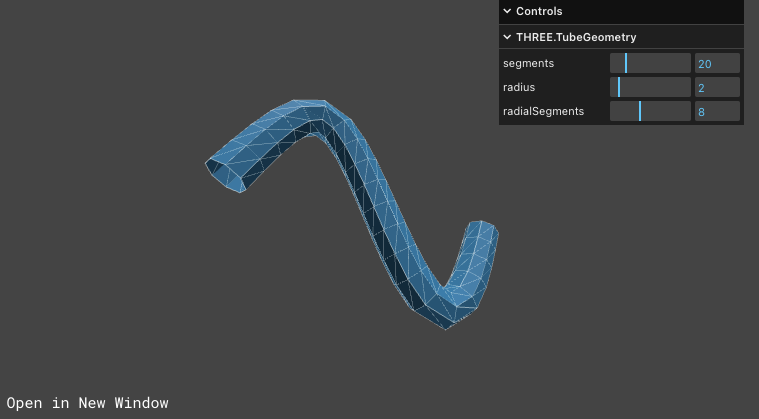 |
| WireframeGeometry | 베이스 지오메트리에 폴리곤 라인(삼각형)을 생성 |
정육면체 박스에 라인을 입히고, 마우스로 컨트롤하는 예제
main.ts 전체 코드
import { OrbitControls } from 'three/examples/jsm/Addons.js' // 컨트롤을 위한 클래스
import './style.css'
import * as THREE from 'three'
// App 클래스 정의
class App{
// 렌더러 생성
private renderer: THREE.WebGLRenderer
// id 가 app 인 div를 참조하는 DOM 객체 생성
private domApp: Element
// scene 객체 생성
private scene: THREE.Scene
// 카메라, 광원, 모델을 참조하기 위한 필드 생성
private camera?: THREE.PerspectiveCamera // ? 는 PerspectiveCamera 객체나 Undefine 객체를 가질 수 있게 함
// cube 를 추가
private cube?: THREE.Mesh
constructor(){
console.log('Hello three.js')
this.renderer = new THREE.WebGLRenderer({ antialias: true}) //antialias 계단 현상 방지
this.renderer.setPixelRatio(Math.min(2, window.devicePixelRatio)) //현재 모니터의 픽셀 비율을 가져옴, 팍셀 비율을 2로 설정
this.domApp = document.querySelector('#app')! //!는 쿼리셀렉터의 발언값이 Null이 아닐때만 적용
this.domApp.appendChild(this.renderer.domElement) // canvas 타입의 돔 객체
this.scene = new THREE.Scene() //scene 객체
// 카메라, 광원, 모델 객체
this.setupCamera()
this.setupLight()
this.setupModels()
// 객체의 이벤트
this.setupEvents()
// 컨트롤을 위한 메서드
this.setupControl()
}
private setupCamera(){
// 카메라의 렌더링 비율을 얻기 위해 domApp 객체의 가로 세로 값을 가져옴
const width = this.domApp.clientWidth
const height = this.domApp.clientHeight
// 카메라 객체 생성
this.camera = new THREE.PerspectiveCamera(75, width/height, 0.1, 100)
// 카메라 위치
this.camera.position.z = 2 // 카메라의 위치 x,y,z 는 0, 0, 2 로 세팅
}
private setupLight(){
// 광원 세팅
const color = 0xffffff //색상
const intensity = 1 //강도
const light = new THREE.DirectionalLight(color, intensity)
const light_2 = new THREE.DirectionalLight(color, intensity)
light.position.set(-1, 2, 4) //위치
light_2.position.set(2,-4,-4)
this.scene.add(light, light_2) // scene 에 광원 추가
}
private setupModels(){
// 면에 대한 재질 생성
const meshMaterial = new THREE.MeshPhongMaterial({
color: 0x156289,
flatShading: true, side: THREE.DoubleSide,
transparent: true, opacity: .75
})
// 선에 대한 재질 생성
const lineMaterial = new THREE.LineBasicMaterial({
color: 0xffffff,
transparent: true, opacity: 0.8
})
// geometry 생성
const geometry = new THREE.BoxGeometry(1,1,1)
// 면과 선의 재질 적용
const mesh = new THREE.Mesh(geometry, meshMaterial)
//const line = new THREE.LineSegments(geometry, lineMaterial) //LineSegments 의 인자를 geometry 그대로 적용하면 라인이 해당 지오메트리에 삼각형으로 구성되면서 끓기는 현상이 발생. 이를 해결하기 위해 WireframeGeometry 로 한번 감싸주는 방법을 사용함.
// const line = new THREE.LineSegments(new THREE.WireframeGeometry(geometry), lineMaterial) // WireframeGeometry 는 면을 구성하는 삼각형까지 표현
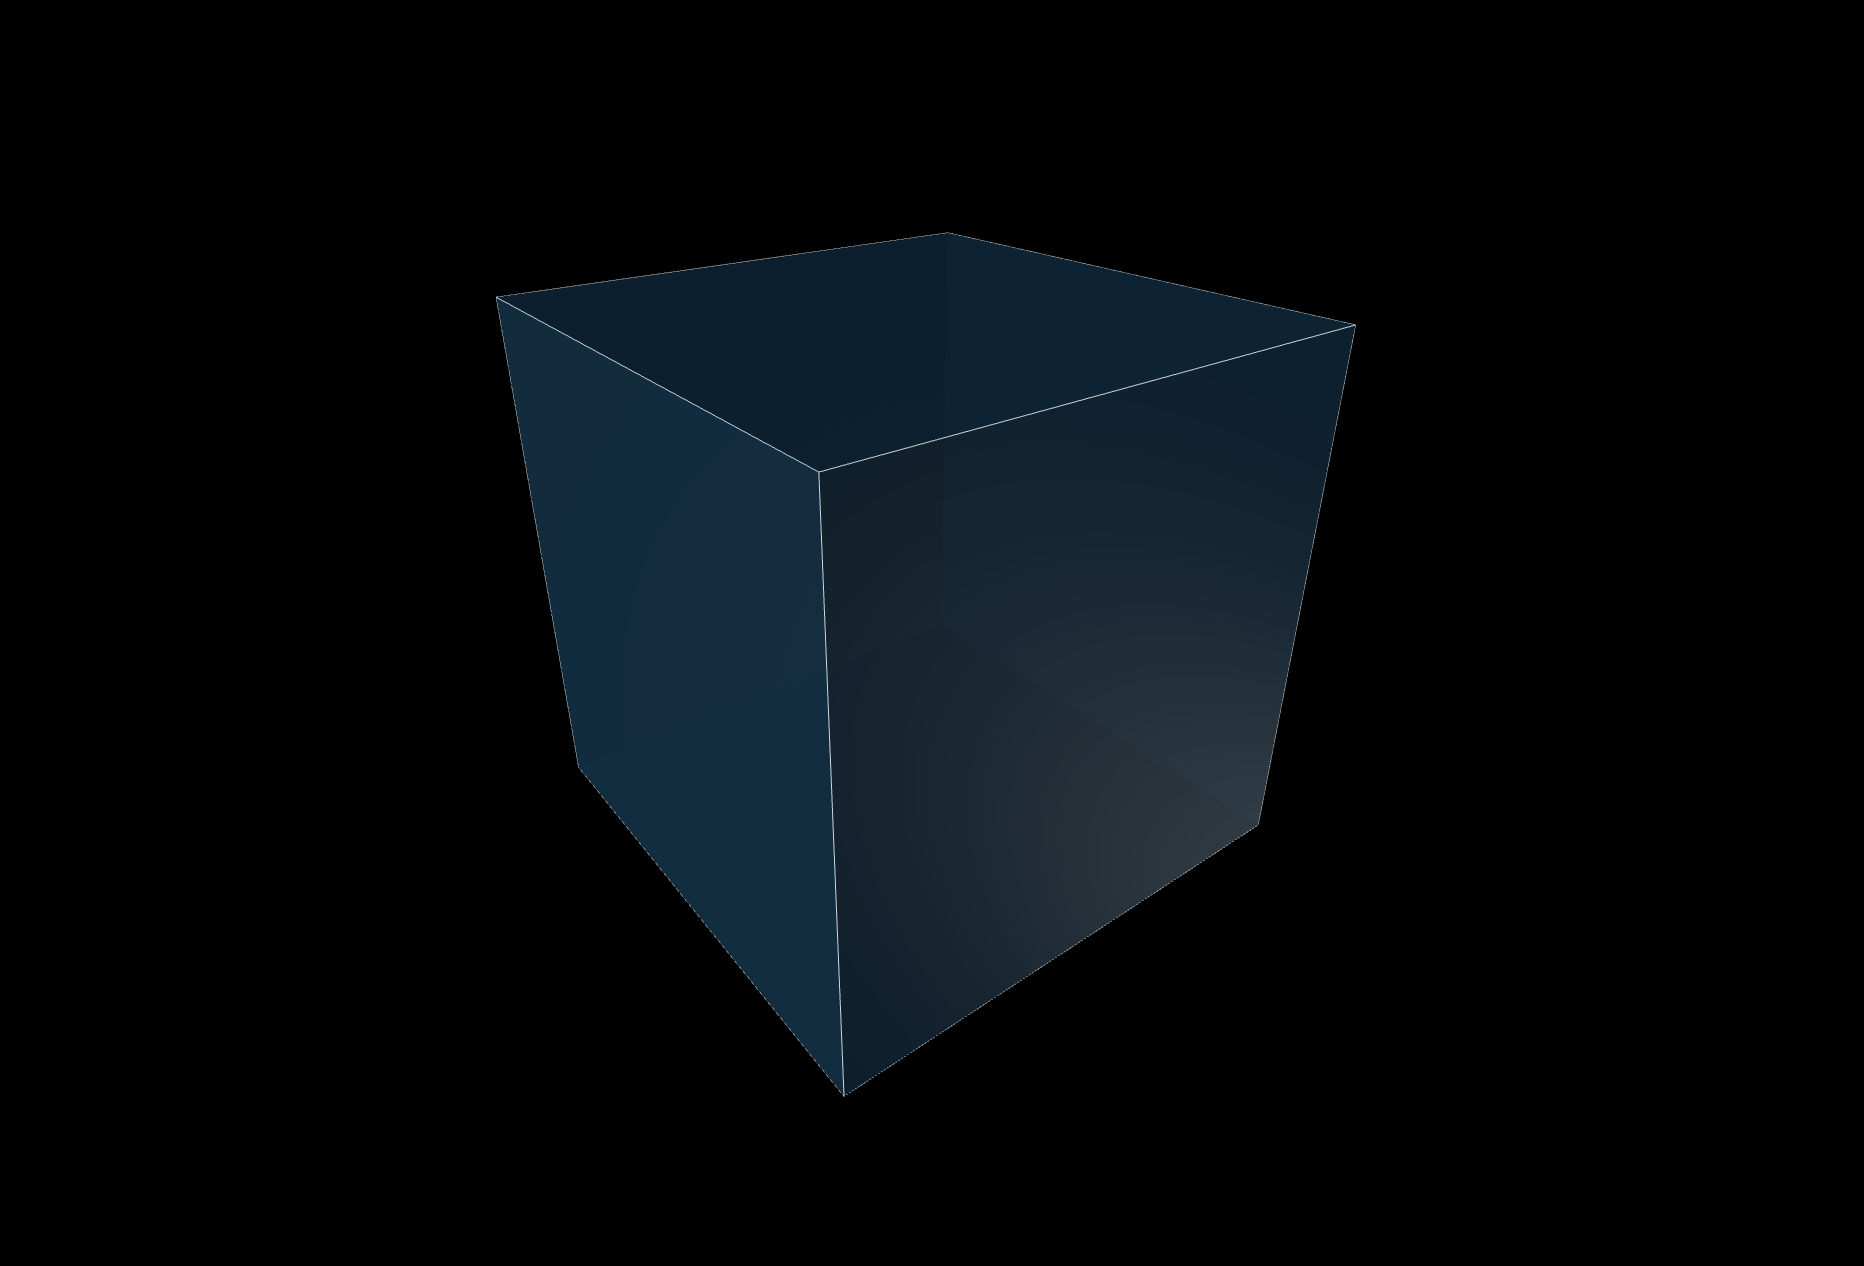
const line = new THREE.LineSegments(new THREE.EdgesGeometry(geometry), lineMaterial) //EdgesGeometry 는 불필요한 삼각형을 표현하지 않고 외곽선만 표현함
// 그룹 생성 후 이름 지정
const group = new THREE.Group()
group.name = "myModel"
group.add(mesh, line)
this.scene.add(group)
}
// 컨트롤을 위한 메서드 추가
private setupControl(){
// 컨트롤을 위한 OrbitControls 는 두개의 인자를 받음, 1. 카메라, 2. 컨트롤할 dom 객체
new OrbitControls(this.camera!, this.domApp! as HTMLElement)
}
private setupEvents(){
window.onresize = this.resize.bind(this) // 브라우저의 크기가 변경될 때 사이즈 변경
this.resize() // 첫 실행 시 리사이즈 실행
// render 실행
this.renderer.setAnimationLoop(this.render.bind(this))
}
private resize(){
const width = this.domApp.clientWidth
const height = this.domApp.clientHeight
const camera = this.camera
if(camera){
camera.aspect = width / height
camera.updateProjectionMatrix()
}
this.renderer.setSize(width,height)
}
// 모델 객체의 애니메니션 정의
private update(time: number){ // time 인자 값은 애니메이션 기능을 추가할 때 중요한 요소
time *= 0.001 // time 인자는 원래 밀리세컨드 단위라서 세컨드 단위로 변경
// // 자동으로 회전
// const cube = this.scene.getObjectByName("myModel") // 이름을 지정한 새로운 모델을 애니메이션 타겟으로 설정
// if(cube){
// cube.rotation.x = time
// cube.rotation.y = time
// }
// 마우스로 회전
}
// 렌더링을 위한 메서드
private render(time: number){
this.update(time) // 모델의 애니메이션 호출
this.renderer.render(this.scene, this.camera!) // 렌더러 객체에 랜더 메서드를 호출해서 랜더링
}
}
// App 클래스 생성
new App()
컨트롤을 위한 메서드
  private setupControl(){
    // 컨트롤을 위한 OrbitControls 는 두개의 인자를 받음, 1. 카메라, 2. 컨트롤할 dom 객체
    new OrbitControls(this.camera!, this.domApp! as HTMLElement)
  }
박스에 라인 넣기
1. WireframeGeometry 는 면을 구성하는 삼각형까지 표현
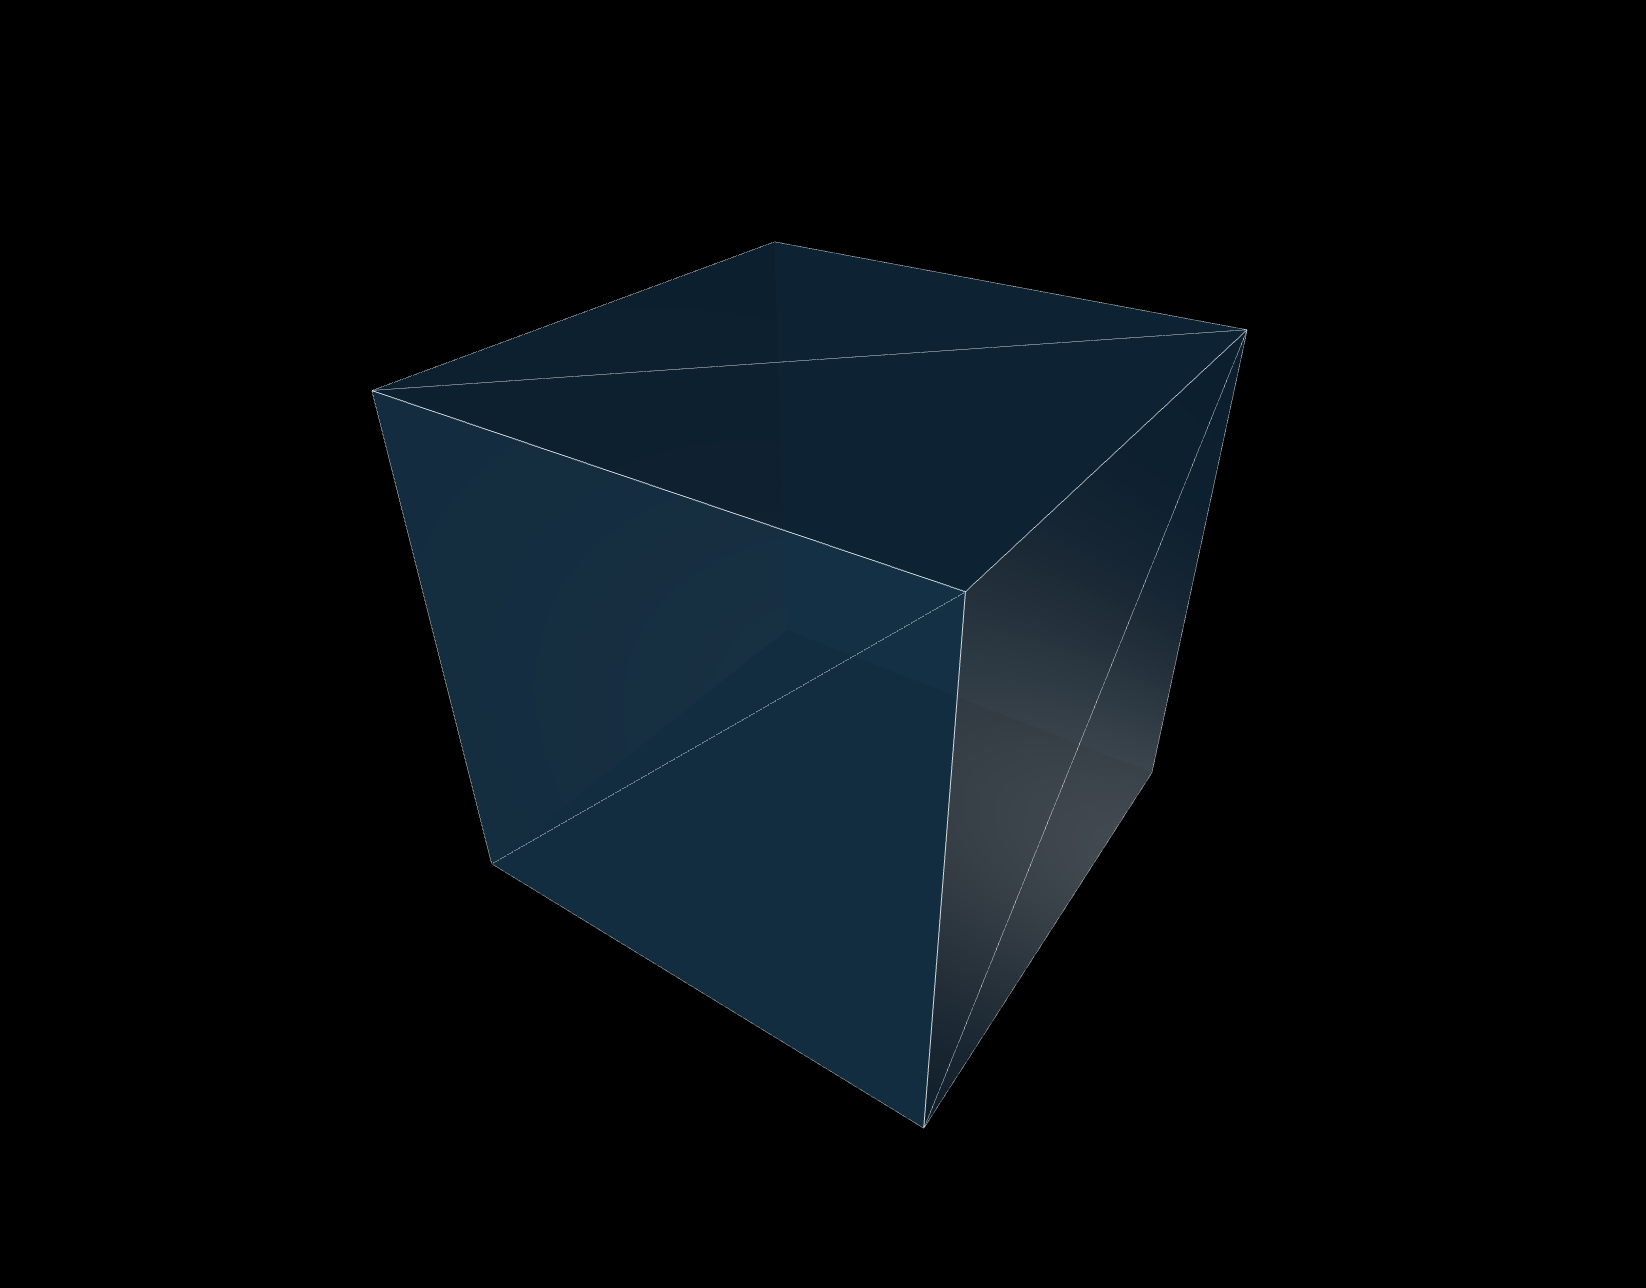
2. EdgesGeometry 는 불필요한 삼각형을 표현하지 않고 외곽선만 표현
반응형
'Three.js > Study' 카테고리의 다른 글
| geometry #03 (0) | 2024.08.05 |
|---|---|
| geometry #02 (0) | 2024.08.05 |
| Three.js 개발환경 세팅 및 큐브 생성 (0) | 2024.08.02 |


