환경
0. Window 10
1. PyCharm ( 세팅 되어있다고 가정 )
2. MySQL server & MySQL Workbench ( 세팅 되어있다고 가정 )
3. django
4. mysqlclient ( mysql 서버와 연동을 위한 모듈 )
Django 프로젝트 생성 및 HTML/CSS 연동
1. 아나콘다 환경 생성(콘다 프롬프트 상)
conda create -n {사용할 환경 이름} python=3.8(사용할 파이썬 버전, mysqlclient 는 python=3.10은 지원 안됨)
conda activate {사용할 환경 이름}
# pip 업그레이드
$ pip install --upgrade pip

# 필요한 모듈 인스톨
$ pip install django
$ pip install mysqlclient
2. 프로젝트 디렉토리 생성
$ mkdir django_tutorial
3. 폴더 이동
$ cd django_tutorial
4. 장고 프로젝트 생성
$ django-admin startproject config .
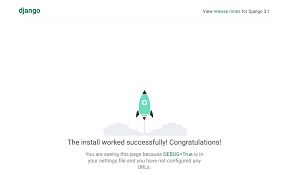
5. 생성된 프로젝트 확인
$ python manage.py runserver
6. 앱 생성 / 앱 이름: helloworld
$ python manage.py startapp helloworld
7. 뷰 작성 / 경로: django_tutorial/helloworld/views.py
from django.http import HttpResponse

def index(request):
    return HttpResponse("Hello, world.")
8. 뷰를 호출하기 위해 url 생성 후 url패턴 정의 / 경로: django_tutorial/helloworld/ 에 urls.py 생성
from django.urls import path
from . import views


urlpatterns = [
    path('', views.index, name='index'), # ''는 앱의 최상위 경로
]
9. 프로젝트의 urls.py 에 생성한 앱의 Path 추가 / 경로: django_tutorial/config/urls.py
from django.contrib import admin
from django.urls import path, include # 기존 내용에 include 추가

urlpatterns = [
    path('helloworld/', include('helloworld.urls')), # 새로 추가하는 부분
    path('admin/', admin.site.urls),
]
10. html 페이지 세팅 / 경로: django_tutorial/helloworld/
- templates 폴더 생성
- templates 폴더 안에 helloworld 폴더 생성
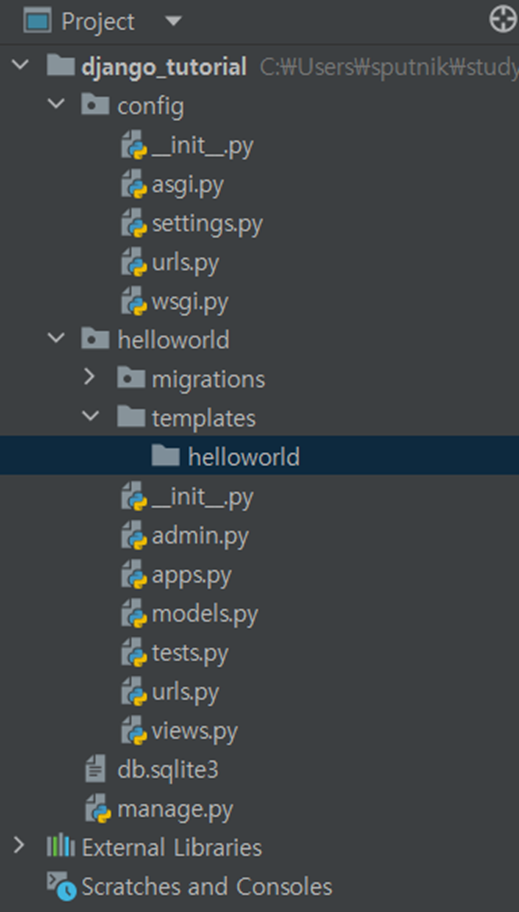
11. index.html 파일 생성 경로: django_tutorial/helloworld/templates/helloworld/
12. views.py 수정 / 경로: django_tutorial/helloworld/view.py
- 기존 내용 삭제
from django.shortcuts import render

def index(request):
    return render(request, 'helloworld/index.html')
13. settings.py에 생성한 앱 이름 추가 / 경로: django_tutorial/config/settings.py
INSTALLED_APPS = [
    'django.contrib.admin',
    'django.contrib.auth',
    'django.contrib.contenttypes',
    'django.contrib.sessions',
    'django.contrib.messages',
    'django.contrib.staticfiles',
    'helloworld', # 생성한 앱 추가
]
14. css 생성 및 html에 연결 / 경로: django_tutorial/helloworld/
- django_tutorial/helloworld/ 에 static 폴더 생성 후 style.css 파일 생성
- css 작성
body {
	background-color: #485563;
}
h1 {
    color : white;
}
a {
    color : white;
}
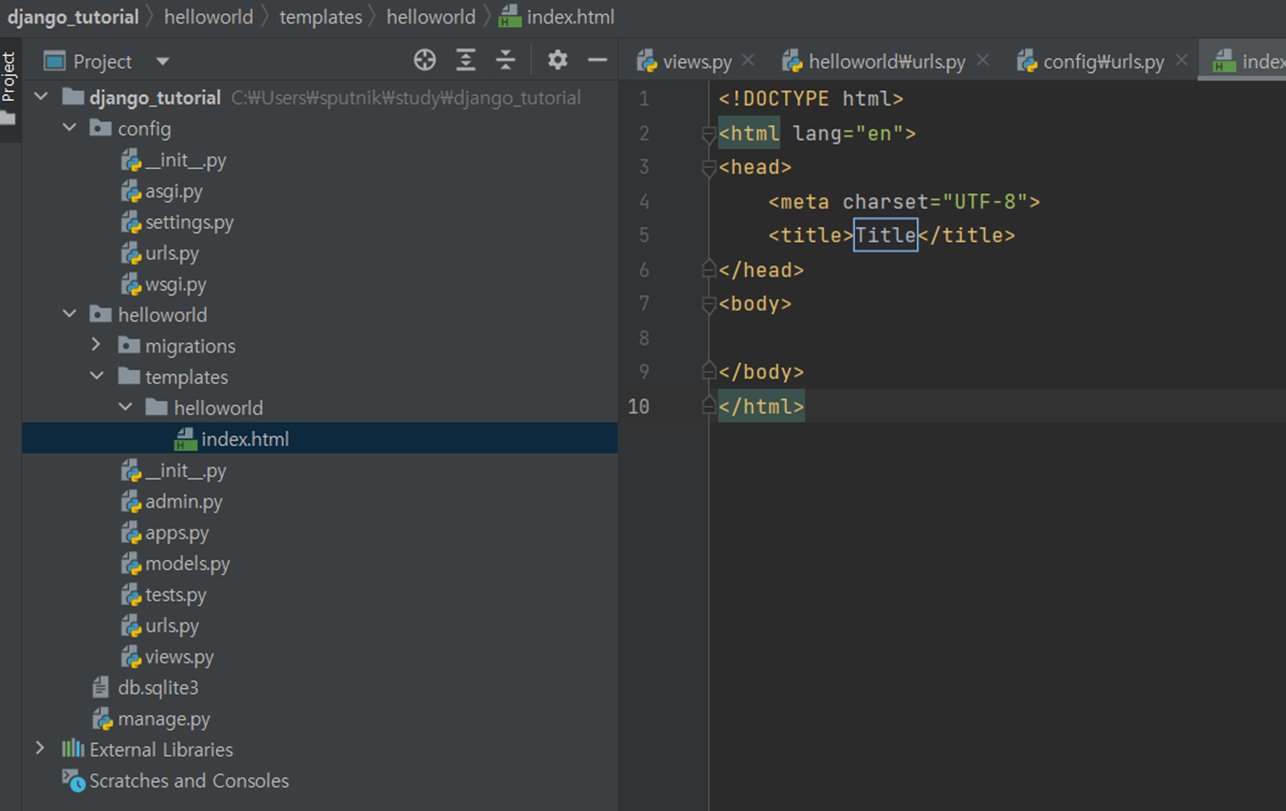
- html head에 css 파일 연결
<!DOCTYPE html>
{% load static %}
<html lang="en">
<head>
    <meta charset="UTF-8">
    <title>Title</title>
    <link rel="stylesheet" href="{% static 'style.css' %}">
</head>
<body>
  <h1>Hello world</h1>
</body>
</html>
15. settings.py에 static 파일의 위치 추가 / 경로: django_tutorial/config/settings.py
import os # 프로젝트 상단

# 아래 내용은 기존에 있는 BASE_DIR 위치 아래
STATIC_URL = '/static/'
STATICFILES_DIRS = [os.path.join(BASE_DIR, 'helloworld/static'), ]
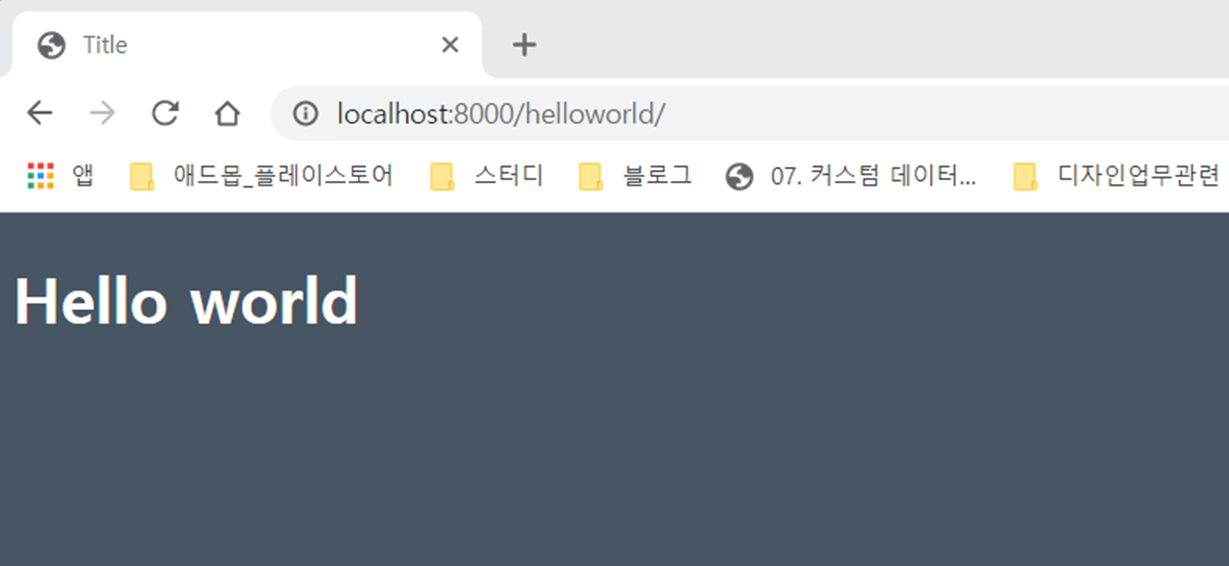
16. 페이지 확인
$ python manage.py runserver
custom db 연결
- 구동하고 있는 custom db가 있다고 가정
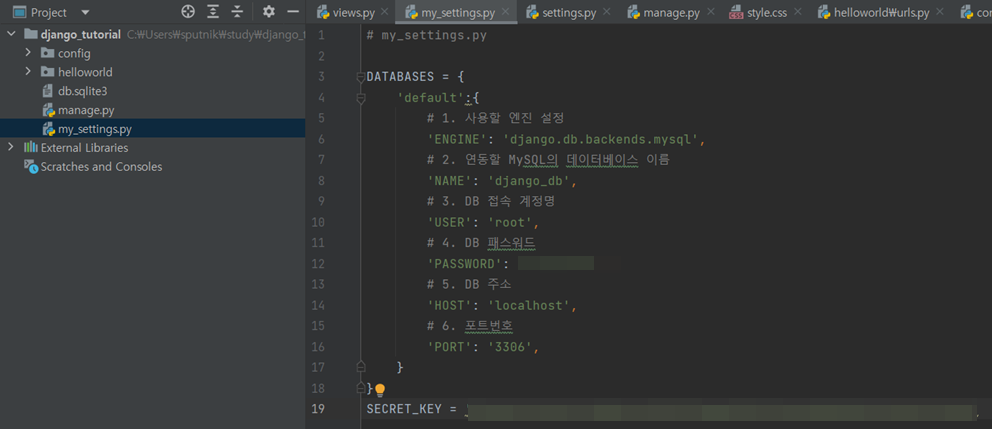
1.my_settings.py 생성 / 경로: django_tutorial/
- db 정보 입력 후 secret_key 에 django_tutorial/config/settings.py 에 있는 secret_key 정보 복사
# my_settings.py

DATABASES = {
    'default':{
        # 1. 사용할 엔진 설정
        'ENGINE': 'django.db.backends.mysql',
        # 2. 연동할 MySQL의 데이터베이스 이름
        'NAME': 'django_db',
        # 3. DB 접속 계정명  / 연결할 db에 따라 다를 수 있음
        'USER': 'root',
        # 4. DB 패스워드
        'PASSWORD': '패스워드',
        # 5. DB 주소 / 연결할 db에 따라 다를 수 있음
        'HOST': 'localhost',
        # 6. 포트번호
        'PORT': '3306',
    }
}
SECRET_KEY = '생성한 프로젝트에 있는 키 복사'
2. 기존 settings.py의 내용 수정 / 경로: django_tutorial/config/settings.py
- SECRET_KEY 주석처리
- 기존 DB 정보 주석처리
- 생성한 my_settings.py 내용 가져옴
import my_settings

DATABASES = my_settings.DATABASES
SECRET_KEY = my_settings.SECRET_KEY
3. model.py 에 admin 페이지에서 연동할 db 테이블 정보 작성 / 경로: django_tutorial/helloworld/models.py
# 해당 내용은 db 구조에 따라 내용이 달라집니다.
# Create your models here.
class context(models.Model):
    ID = models.IntegerField()
    his_period = models.CharField(max_length=50)
    hp_txt_num = models.CharField(max_length=50)
    hp_context = models.TextField()

    class Meta:
        managed = False
        db_table = 'context'
4. db 내용 migrate (콘다 프롬프트 상)
$ python manage.py makemigrations
$ python manage.py migrate
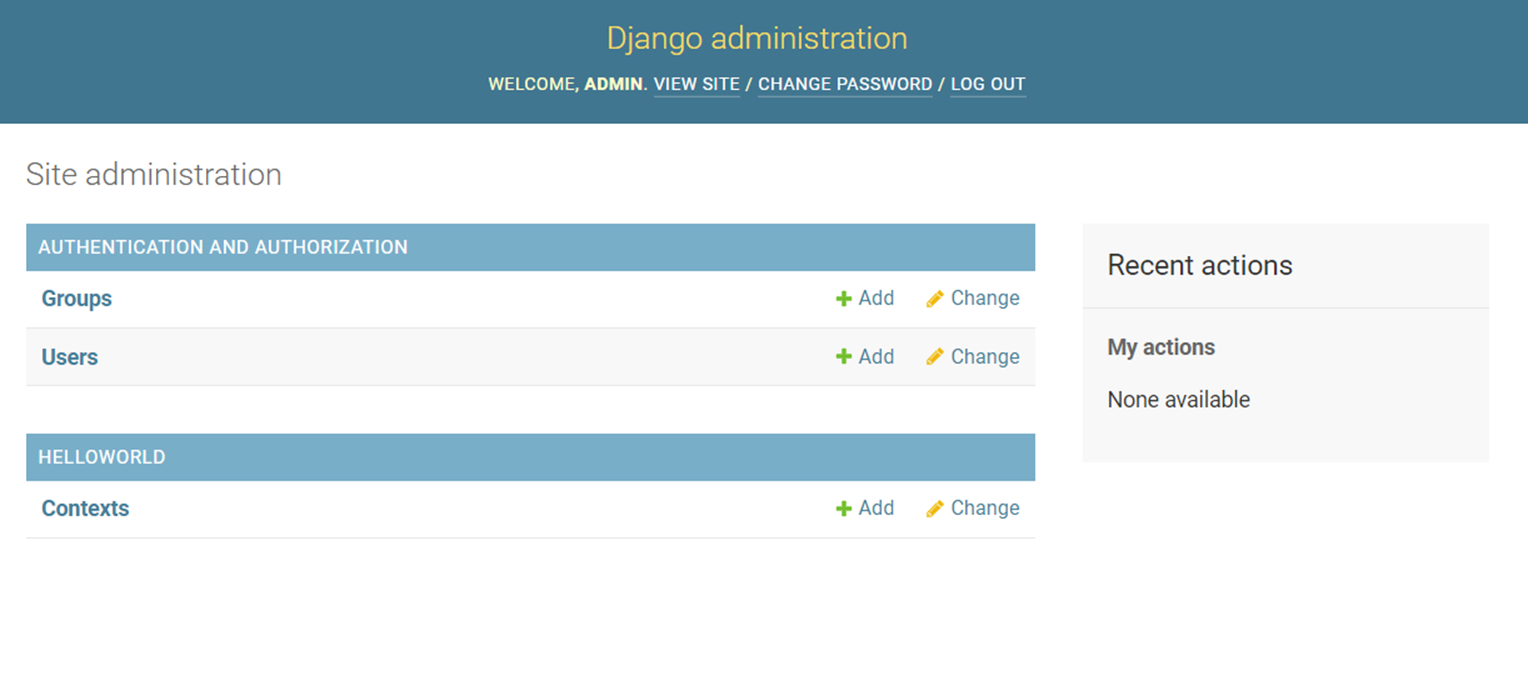
5. admin 페이지에서 관리할 db 설정 / 경로: django_tutorial/helloworld/admin.py
from django.contrib import admin
from .models import context
# Register your models here.

admin.site.register(context)
6. 관리자 계정 생성 (콘다 프롬프트 상)
- 사용자 이름과 이메일 주소(선택), 패스워드 입력
$ python manage.py createsuperuser
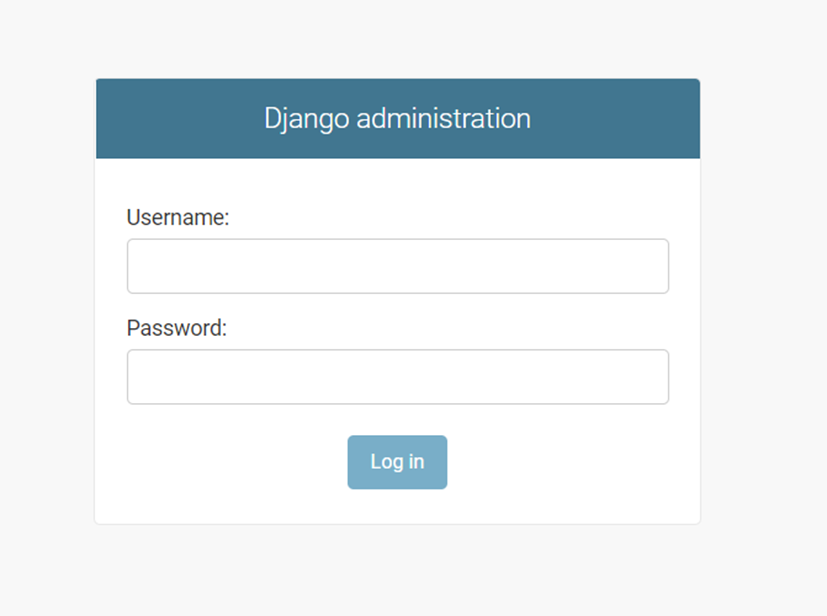
7. 프로젝트 실행 후 관리자 계정으로 연결한 db 접속
$ python manage.py runserver # 프로젝트 실행(콘다 프롬프트 상)
웹브라우저 열고
http://localhost:8000/admin # 관리자 페이지 접속
작성한 html 페이지에 연동한 db 내용 불러오기
1. view 파일에서 db 에 있는 내용 불러오기 / 경로: django_tutorial/helloworld/view.py
from django.shortcuts import render
from django.db import connection


def index(request):
    id = []
    context = []
    try:
        cursor = connection.cursor()
        cursor.execute("SELECT his_period, hp_context FROM context LIMIT 1;")
        result = cursor.fetchall()
        connection.commit()
        connection.close()
    except:
        connection.rollback()
        print("Failed Selecting in StockList")

    for entry in result:
        id.append(entry[0])
        context.append(entry[1])

    # index 가 호출될 때 전달할 contexts
    contexts = {
        'id': id[0],
        'contexts': context[0],
    }

    return render(request, 'helloworld/index.html', contexts)
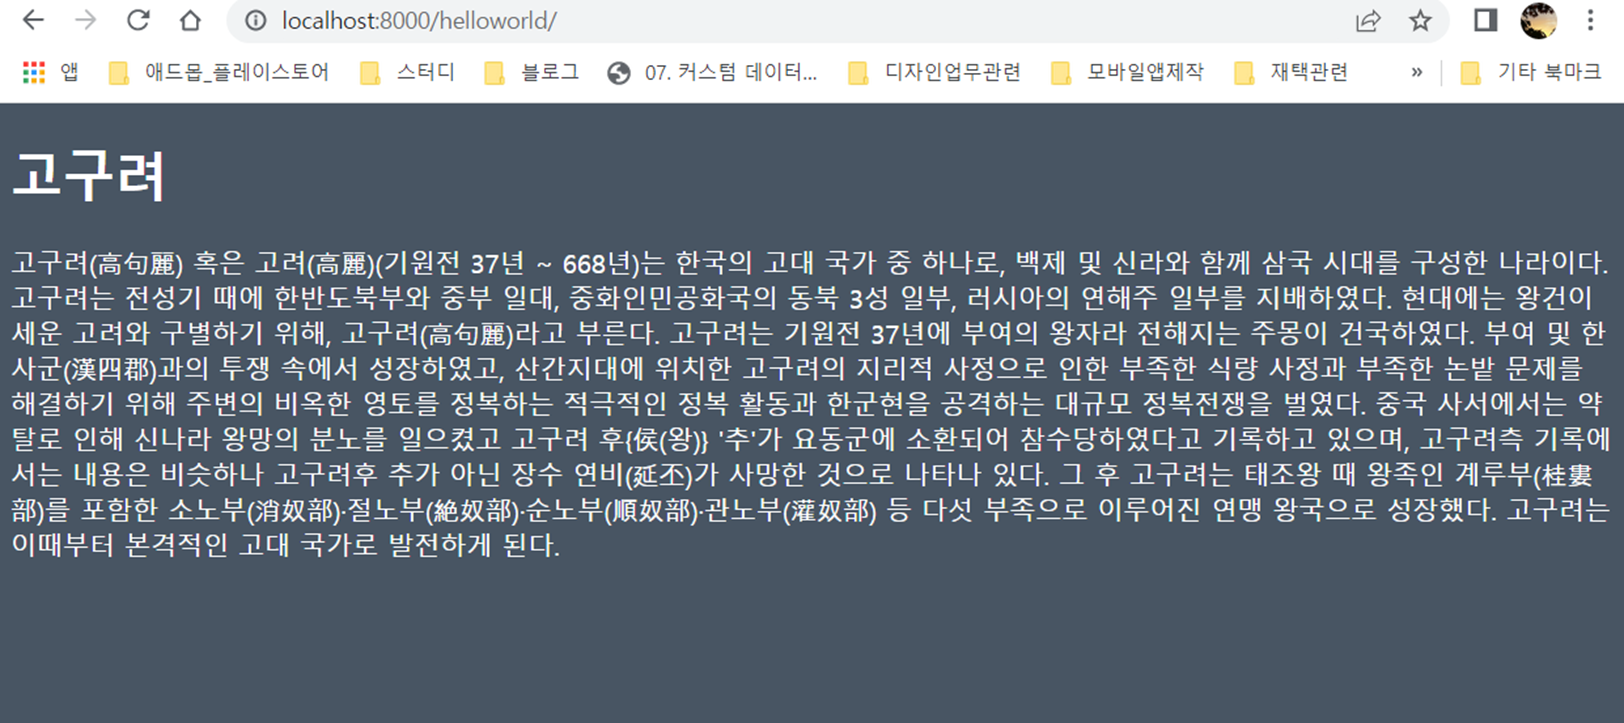
2. html 내용 수정 / 경로: django_tutorial/helloworld/templates/helloworld/index.html
<!DOCTYPE html>
{% load static %}
<html lang="en">
<head>
    <meta charset="UTF-8">
    <title>Title</title>
    <link rel="stylesheet" href="{% static 'style.css' %}">
</head>
<body>
    <h1>{{ id }}</h1>
	<div class="contexts"><a>{{ contexts }}</a></div>
</body>
</html>
3. 페이지 실행 후 db 연동 확인
'AI > Django' 카테고리의 다른 글
| Django 프로젝트 Docker image로 만들기 (0) | 2022.01.12 |
|---|---|
| 장고 개발 환경 세팅 (0) | 2021.12.18 |

